BREAM GUIDE AND GEAR
The yellowfin bream is the reason why so many of us are hooked with fishing. These tough little fish can be found almost anywhere and eat almost anything making them the ideal fish for kids and those starting their fishing obsession.
This humble fish isn’t just a “beginner” fish by any means! Bream attract hundreds of anglers across the country in the tournament scene.
For many anglers the bream is great fun fish to catch and aren't too bad on the plate. In this Gear and Guide we’ll go through our tips and techniques to catch these tough fish on bait and lures.
YELLOWFIN BREAM
Yellowfin Bream or Acanthopagrus australis is a slow growing species of fish that can be caught as far north as Townsville and as far south as Gippsland in Victoria. They inhabit salt or brackish water (mix of fresh and saltwater) inshore rocky reefs, ocean beaches and headlands. Bream have a very slow growth rate - taking about 5 years to reach 23cm in length (fork of the tail) and can live for up to 20 years.


FINDING BREAM
As mentioned - bream can be found almost anywhere. Beaches, rocky headlands, wharves to even the rank little creeks at the back of the local industrial complex. Finding them isn’t the problem, the challenge is finding big ones when they're in a feeding mood. Bream a predatory fish and need certain triggers to switch them on. These triggers include tides, water flow, water temp, low light and water clarity. Bream will also move to areas for an easy feed like intertidal areas (areas that are exposed at low tide and submerged at high tide)
WORKING OUT HOW TO FIND BREAM
As mentioned above bream need triggers to promote feeding so by concentrating your fishing time around these factors can dramatically improve your catch rate.
LANDBASED
Being landbased can give you access to areas boats can’t reach but it also has its limits. Putting in the homework prior to heading out is beneficial. You want to find a spot that at least ticks some of the feeding triggers. For example, when fishing a wharf in the middle of the day and the water is clear you’d want to be casting in the deeper parts as the fish will be hiding away from the sun. But if the water is dirty and the light is low the fish will be right up next to the wharf almost under your feet.
Off the beaches you can follow a similar pattern. If it’s the middle of the day aim to get your bait in the deeper parts of the gutter/beach where as if the tide is high and it’s low light the fish will move closer to shore, almost at your feet.
Intertidal areas like sandflats or flat rock ledges that are under water at high tide are great areas to start finding bream. When the tide is low and the sun is beaming down it can literally cook shellfish, small crabs and the like. The bream know this and the moment the water covers these areas, even if it’s a foot deep, the bream will start to move in to feed and because they have a short time to feed they generally can be quite aggressive.
BOAT-BASED
On a boat you’ve got plenty of options in finding fish. Again, follow a similar principle as being landbased. Fish deeper with the brighter sun and fish shallow when the sun is lower. Sandflats and weedbeds are great places to start when the light is low and fish deeper holes, moorings are reefs when the light is higher or the tide is lower. One thing too when boat fishing you do need to be aware of water flow. As the saying goes “No flow, no go” bream like to have water movement to promote feeding. Water movement not only help bream hunt but also drifts food closer to the fish to feed on. In short, follow the tides and light conditions as a guide to help find where the fish will be feeding.


BAITS FOR BREAM
Bream aren’t too fussy however, there are times when they can be extremely fussy so it’s always good to have a mixture of bait. There are a few Old Timer’s who have their secret dough recipe for bream but if you’re starting out it’s best to use bait that’s local to the area. For example, if you’re fishing the weedbeds try and use fresh local prawns or if you’re fishing the beach aim to use fresh or live beach worms. As with any bait fishing. Fresh is always best. However, there are exceptions to the rule with bream. Below is a list of baits the team have caught bream on;
Squid
Prawns
Pilchard
Beach Worms
Beef steak
Bread
Dough
Fish baits
Cunjie
Pippies
Chicken gut
Breast chicken
Beef liver
And the list goes on!
To keep it simple stick with prawns, pilchard, beach worms and fresh fish baits.
TERMINAL TACKLE FOR BREAM


LURES FOR BREAM
Soft Plastics
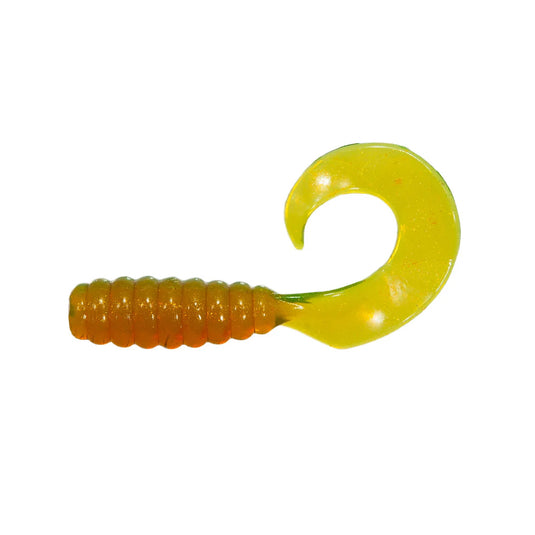
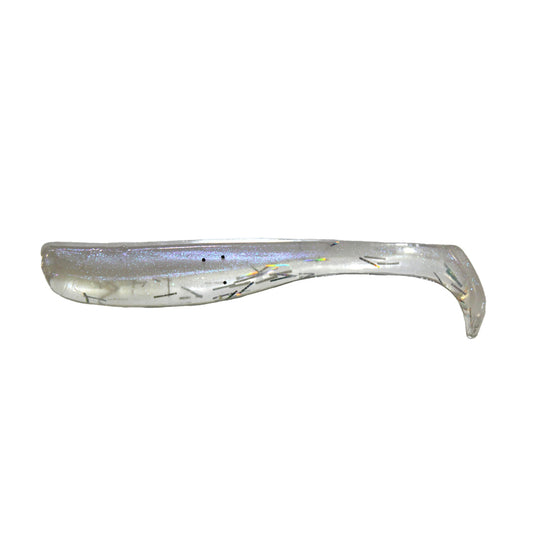
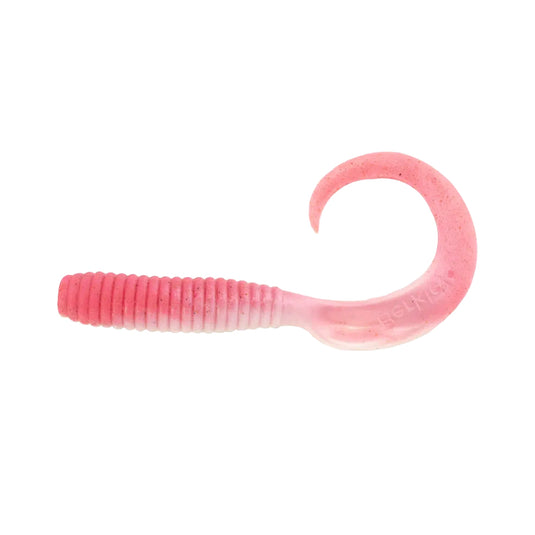
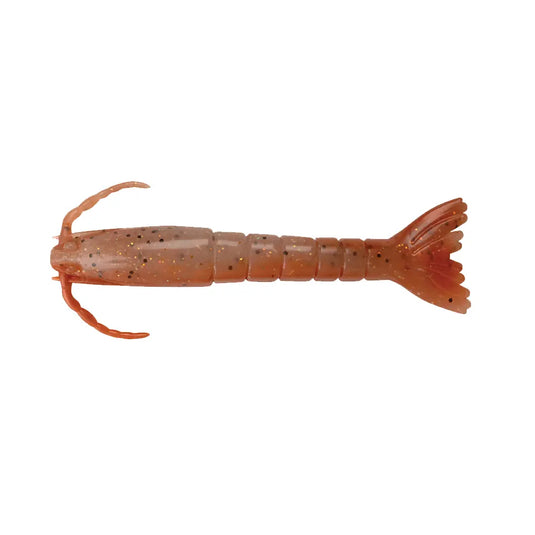
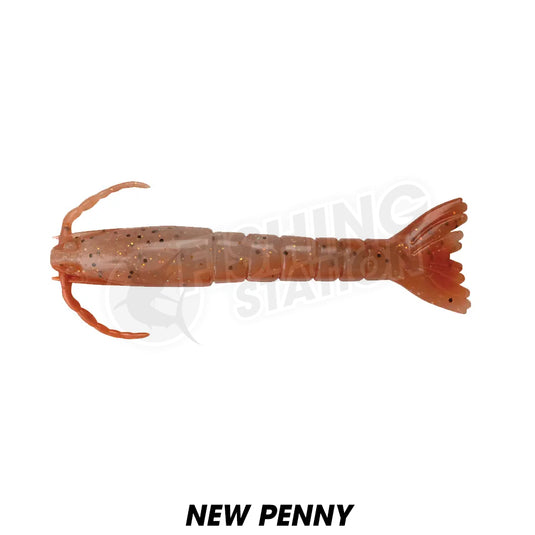
These are the most versatile lures on the market. They are relatively cost effective and can be worked in both shallows and deep water. Some of our favourites include the Berkley Gulp 2.5 Inch Grub in the Camo colour and the 3 inch Zman Slim Swim in the Motor oil. Pair these up with a TT headlocks jig head between 1/16 to 1/12 in either a size 1 or 1/0 hook will suffice. This lure combo is ideal for throwing around wharfs, working around shallow weedbeds or simply drifting off the back of the boat.
These lures are versatile in that you can simply throw them out, let them sink to the bottom and give them a few hops with the retrieve to tempt a fish to take it. If you’re wanting to increase your catch try and get your lures as close to structure as possible. Bream love structure and there are two types of “bite” which can occur when using this technique. The first is that the bream is hungry and the lure looks tasty so it will take a swipe at it but the second is the “reaction bite.” A reaction bite is when a fish takes a bite or swipes at a fish to get them out of their space. Even if the fish isn’t feeding their instincts will take over and will take the lure out of aggression.
BEST LURES FOR BREAM


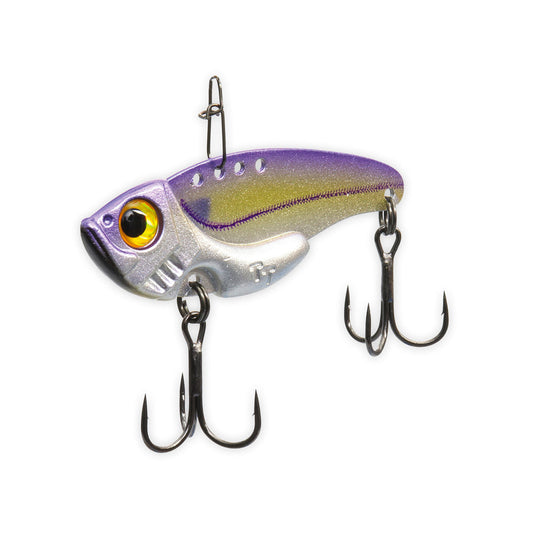

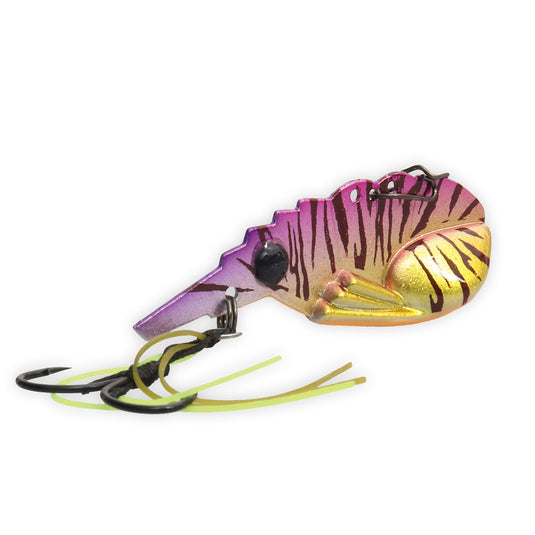


VIBES
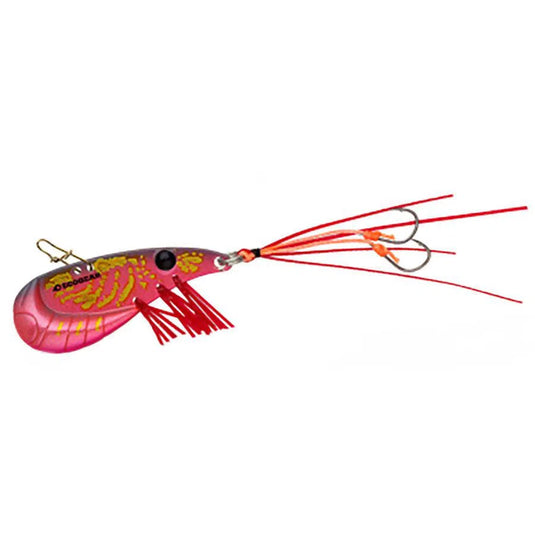
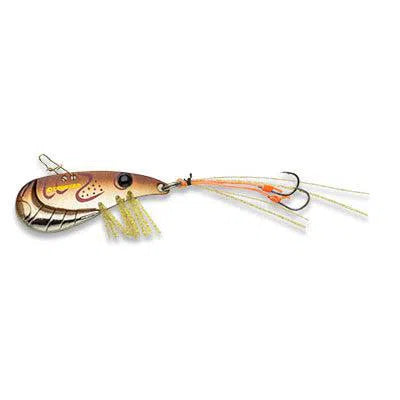
Vibes have been growing in popularity for a while due to their vibrating action. Fish like bream, mulloway and the like hunt through detecting vibrations through the water via their sensitive organ called the “lateral line.” These lures are designed to trigger the fishes’ feeding mechanism to take a bite. These are great lures to work in deep water. Simply drop the lure to the bottom and slowly lift the rod tip. You should feel the vibrations come through the rod and that’s how you know it’s working. For bream our favourite “vibes” are the Ecogear ZX lures and the TT switchblade. .
SURFACE LURES
In the warmer months bream love to slurp small surface lures from the shallow weedbeds and sandflats and they aren’t shy to attack a lure in super shallow water! The technique is simple. Cast as far as you can across the shallow water, wind the lure back with a jiggle on your rod tip to ensure a zig zag motion of the lure and give it a quick pause now and then for dramatic effect. Our favourite lures are the Bassday Sugarpens and the Daiwa Slippery Dog surface lures. They work straight out of the box!


ROD AND REEL
For bait fishing we recommend a fibreglass rod, these are tough, durable but are perfectly suited to bait fishing. When bait fishing you generally want the fish to take the bait and run off with it and fibreglass rods are very flexible and allow the fish to run with minimal resistance but they also feature enough strength to bring the fish in. A rod like the Shimano Taipan is a perfect choice. Pair this with a Shimano Sienna and 8lb mono line.
If you’re fishing the surf/rocks then it’s important to get a longer rod for better casting distance and to keep the line away from the waves and rocks. A rod like the Daiwa Crossfire. This rod is 10 foot 6 which is great for light rock/surf fishing. Pair this will a 4000 Daiwa Aird and 12lb line and you’re ready to fish!
For lure fishing you want a rod that’s the opposite of a fibreglass rod. You want a sensitive, light rod for accurate casts, bite detection and to impart direct lure action. Rods between 6 foot to 7 foot are a great starting point. A general rule of thumb is that the shorter the rod the more accurate the casting and the longer the rod the more distance you can get. Depending on how you’re working the lures and where will determine your rod length. As for rating, anything between 1 to 4kg is ideal. For a beginner rod we recommend the Shimano Raider and for something more high-end we suggest the Daiwa Infeet Z. Any spin reel between the 1000 and 2500 size will pair well with a light graphite rod. Braid line essential for this type of fishing.
BAIT FISHING RIGS
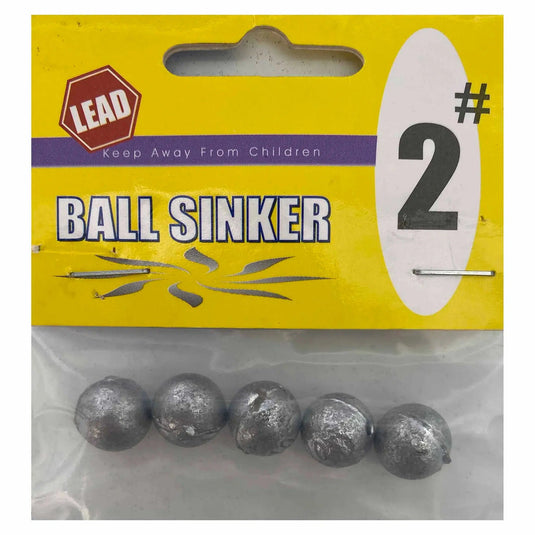
No need to over-complicate the rigs. A simple small ball sinker running directly to the hook is fine. Change the sinker size according to the current/distance you want to cast. If it’s calm don’t be shy to remove the sinker all together for a natural bait presentation. If the fish are a little shy you can always add a swivel and leader to separate the hook from the sinker.
Try not to use a sinker too big or hooks that are too big as you want the presentation to look relatively natural. This rig can be applied off the rocks however for the beach try and use a paternoster rig. This rig is designed to keep the sinker at the bottom of the rig to act like an anchor and the hooks sit above the sinker. This will keep your bait presented well in the turbulent water and keep it in the strike zone for longer.
To help bring the fish to you there's always the option of burley. There's the option of pre-made burley like the Stimulate Prawn Pellet Burley or a you can create your own with stale bread or bread crumbs.


EATING BREAM
Always take care of your fish when dispatching and for bream it’s important to dispatch the fish quickly to reduce stress on the fish. Once dispatched, place on ice to keep it cool. Bream are a smaller fish so it’s common to cook the fish “whole” so it’s important to remove the guts before adding to the ice. The reason is that bream eat everything include shells, mud and rocks. Leaving the stomach contents in the fish for a prolonged period of time can leech into the flesh and give the fish an “earthy” taste.
The fish can be cooked whole on the BBQ or filleted, crumbed and fried.